

Sunday morning, rain is falling. Sure, these words might sound great when Maroon 5 is singing them, but when you’re actually facing it, well that’s another story. You find yourself looking around the house trying to find something to do. Luckily, I’ve discovered a great do-it-yourself project that recycles your old make-up compacts into a super chic mirror! There are photos for each step!
What you’ll need:
- hot glue gun
- old make-up compacts
- photographs
- pencil
Directions
Step 1:
For this project you’ll need a few make-up compacts (I used five) so scour you bathroom cupboards and old make-up bags to see what you can come up with. The compacts I used were all the same brand, therefore, the same size but don’t be afraid to mix different kinds of compacts for a more eclectic look.

Step 2:
It’s likely that your old compacts may still have some old make-up inside so empty any remaining make-up in the trash. Next, you’ll want to soak your compacts in warm soapy water for about five minutes and then scrub them dry with a towel. Be warned, some compact mirrors are made with a shiny sticker instead of an actual mirror so in this case you won’t want to soak the compact in water. Instead, wipe it down with a damp cloth.
Step 3:

Once your compacts are clean you’ll want to separate the mirror section from the make-up section. The easiest method is simply to snap it in half; most compacts are made of plastic and should be fairly easy to break.
Step 4:

You’ll want to lay out all the pieces in front of you so you can arrange them in a pattern before you glue it all together. I used a random pattern but I also played around with a heart shape and a flower shape so get creative with how you want your mirror to look!
Step 5:

Select the photographs you’d like to put in each of the empty make-up compartments. Use a pencil to trace the outline of the compact on your photos (a pencil will make a mark but won’t ruin the photograph as a pen would). I was able to pry the small tins from the make-up portion out of the compact to use as a stencil for my pictures. If this is not possible with the compacts you are using then just use your actual compact as a stencil and trim the photo slightly down until it fits inside. Once your compact is outlined on the photograph then cut it out.
Step 6:

Once you’re photographs have been cut to fit inside the compact you’ll want to glue in each picture to portion of the compact that doesn’t have a mirror. Hot glue comes out rather thick and can make the photograph bulge out so make sure you only use a thin coat when gluing in your photographs. Double-sided tape works just as well.
Step 7:

It’s now time to assemble all of the pieces! The easiest method is to make a small dot on the rim of the compact where it touches another piece so you know where to apply glue instead of coating the entire perimeter of the compact. After applying the glue, hold the pieces of the compact together for ten seconds before gluing another piece.
Step 8:
Now that all of the pieces are glued together, you’re done! You can glue a piece of ribbon to the back of the mirror so you can hang it up or the gaps between pieces are the perfect hooks for a nail or tack.

What Do You Think?
What pictures are you going to use in your photo mirror? Do you have any projects that involve recycling old junk into new decorations? Share your thoughts with me in a comment below!
Related Posts ▾
-

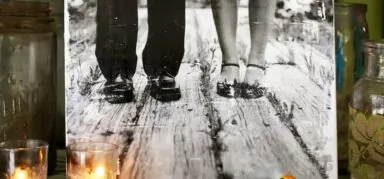
How To… Make Your Own Canvas Photo Print
-
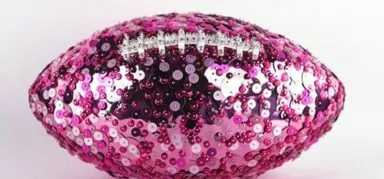
D.I.Y.: Add Flare To That Boring Black Picture Frame
-
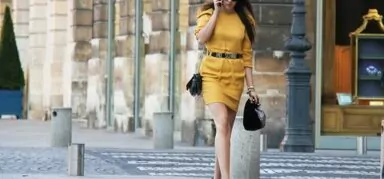
How to…Build a Business Appropriate Wardrobe Part 2
-
44 Adorable School Supplies You Need In Your Life
-
Beach-Ready: Our Top 15 Women’s Swimwear Picks for 2023
-
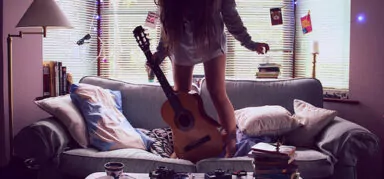
Three Super Easy Crafts to Decorate Your Dorm Room


This is exactly what I was looking for. Thanks for writing!
hey sj, thanks for the comment! i checked out your blog, it’s so cute! i love the idea of using paper bags to make bows for those glasses, such a great idea! i think i’ll try it out since i need a cute cup to hold all my pens and pencils on my desk. thanks for the tips!